
Assign Office 365 Licenses with Active Directory Groups
In this post I will walk through the options of assigning Office 365 Licenses based on Active Directory Group membership. Microsoft has recently released the new feature in Azure Active Directory which allows you to apply Azure licenses as well as Office 365 licenses based on group membership.
To get started and make use of this feature in Azure Active Directory an Azure Active Directory Premium Plan subscription needs to be enabled.
For the purpose of this demonstration I have created a 30 Day trail of Azure AD Premium. I have also already configured Microsoft Azure Active Directory Connect to sync my groups and users to Azure AD. Tool can be downloaded here (https://www.microsoft.com/en-us/download/details.aspx?id=47594) .
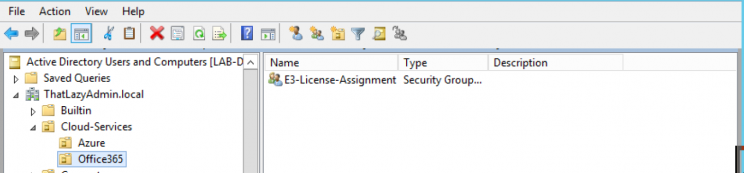
To get started I have created the following group in my On-premises Active Directory and this group has been synced to AZ AD.
Now connect to your Azure AD Portal link : https://portal.azure.com, then navigate to Azure Active Directory.

On the right hand side under “Quick tasks” click on “Find a group” and then click on the newly created and synced group.

On the overview page of the selected group we can see that there is two users part of the newly created group.

Next lets go ahead and click on the Licenses on the left hand side menu.

And then click on “Assign” on the top of the next menu.

In the “License Assigning” menu , click “Configure required settings”.
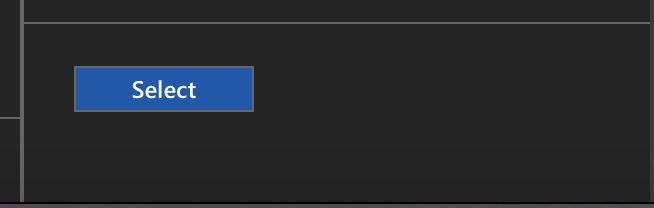
Then select the available licenses , for this post I have Office 365 Enterprise E3 licenses and I will be selecting those and then click select at the bottom on the Menu.

On the Assignment menu, select which options you do not want to assign to users of this group and then click Ok.
Once back on the “Assign License” menu click on “Assign” at the bottom of the menu.

Next we can see that the license are now available to be assigned.

Now that the licenses has been assigned to the Active Directory group , let connect to Office 365 and verify that the licenses has been assigned to the two mentioned users in the group. Connect to Office 365 Admin Portal using the following link. https://portal.office.com
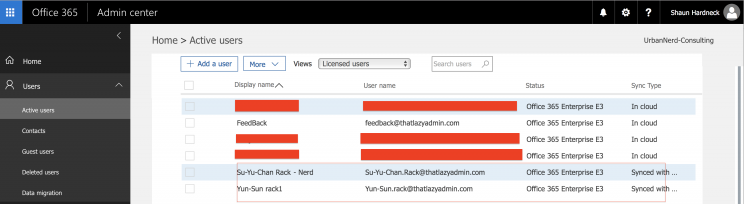
Once connected to the Admin portal go to Users then Active users and then from the Menu on top select Licensed Users.
As you can see the two users has been synced and the Office 365 License has been assigned to the Users.
With this option available is makes it easy to configure and provision Office 365 mailboxes as well configure different group which will allow the users to have access to different types of online services.
#ThatLazyAdmin
Be First to Comment