Create Office 365 Dynamic Distribution Group
In this short post we will look at how to create Dynamic Distribution Groups in Office 365 using Azure AD, Exchange Online PowerShell.
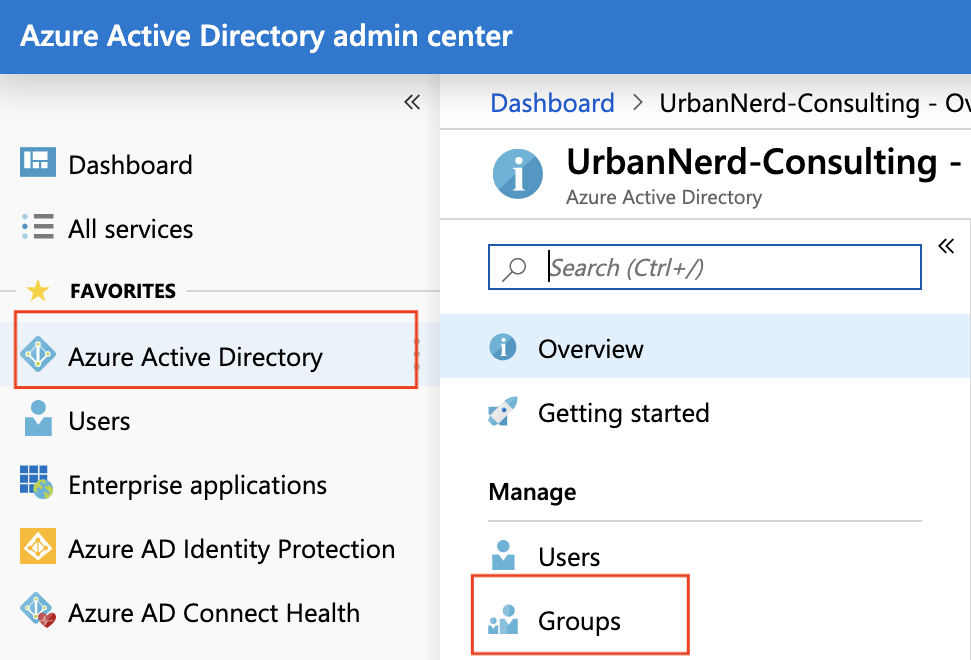
To get started we will look at how to create a Dynamic Distribution group using Azure AD.
- Navigate to Azure Active Directory > Mange >> Groups
![](http://www.thatlazyadmin.com/wp-content/uploads/2019/07/word-image.png)
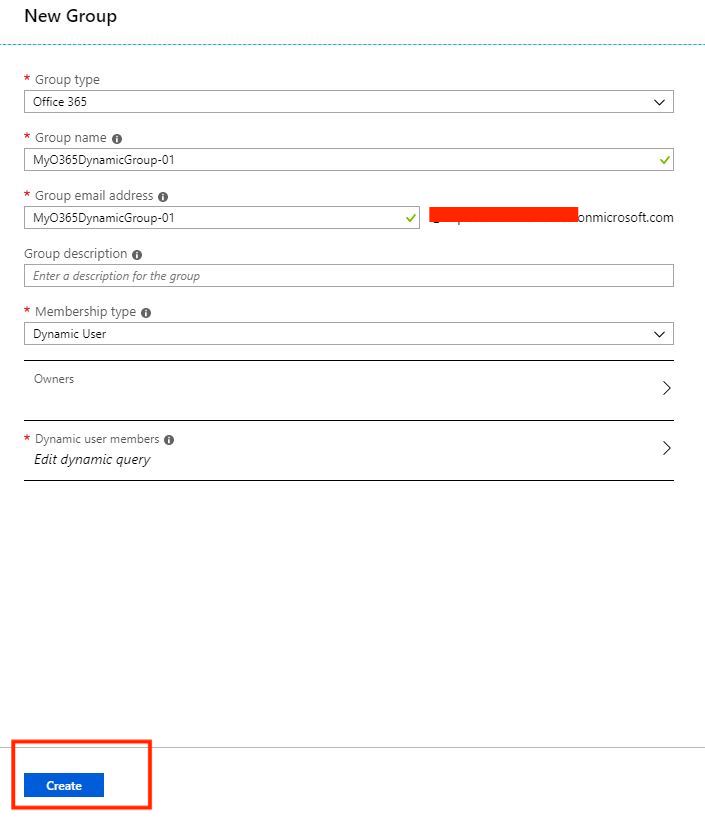
- From the Top Menu select “New Group”
![A screenshot of a cell phone
Description automatically generated](http://www.thatlazyadmin.com/wp-content/uploads/2019/07/a-screenshot-of-a-cell-phone-description-automati.png)
- From the “New Group” Select Group Type as “Office 365” and then Membership Type as “Dynamic User”
![A screenshot of a cell phone
Description automatically generated](http://www.thatlazyadmin.com/wp-content/uploads/2019/07/a-screenshot-of-a-cell-phone-description-automati.jpeg)
- To configure the Dynamic Group membership Rules, click on “Add dynamic query”
![A picture containing screenshot
Description automatically generated](http://www.thatlazyadmin.com/wp-content/uploads/2019/07/a-picture-containing-screenshot-description-autom.jpeg)
- Just for the purpose of this example, I will select “All enabled users” for this Dynamic membership rule.
![A screenshot of a cell phone
Description automatically generated](http://www.thatlazyadmin.com/wp-content/uploads/2019/07/a-screenshot-of-a-cell-phone-description-automati-1.jpeg)
- Once you have provided your membership rules, you can click “add query” at the bottom and then click on Create.
![A screenshot of a cell phone
Description automatically generated](http://www.thatlazyadmin.com/wp-content/uploads/2019/07/a-screenshot-of-a-cell-phone-description-automati-2.jpeg)
- Once the new group has been created, you can view the new group in Azure Active Directory groups as well as Office 365 Groups Portal.
![A screenshot of a cell phone
Description automatically generated](http://www.thatlazyadmin.com/wp-content/uploads/2019/07/a-screenshot-of-a-cell-phone-description-automati-3.jpeg)
Group Displayed in Office 365 Groups Portal.
![A screenshot of a cell phone
Description automatically generated](http://www.thatlazyadmin.com/wp-content/uploads/2019/07/a-screenshot-of-a-cell-phone-description-automati-4.jpeg)
Now that we have seen how to create a Dynamic Group from the Azure Active Directory Portal, let’s have a look at how we can create a Dynamic Group from the Office 365 Admin Portal.
Create Office 365 Dynamic Group from Exchange Online Admin Portal
- Navigate to Office 365 Admin Portal >Admin centers >> Exchange
![A screenshot of a cell phone
Description automatically generated](http://www.thatlazyadmin.com/wp-content/uploads/2019/07/a-screenshot-of-a-cell-phone-description-automati-1.png)
- Click on “Recipients” then click on “Groups”, From the Groups menu click on the drop down next to “New Office 365 group” Then select “Dynamic distribution list”
![A screenshot of a cell phone
Description automatically generated](http://www.thatlazyadmin.com/wp-content/uploads/2019/07/a-screenshot-of-a-cell-phone-description-automati-2.png)
- Provide a Name and Alias for the new Dynamic group and provide a rule for the group membership. For this example, I have listed the rule to select only users for Exchange Mailboxes.
![A screenshot of a social media post
Description automatically generated](http://www.thatlazyadmin.com/wp-content/uploads/2019/07/a-screenshot-of-a-social-media-post-description-a.png)
- You can view the new group from the Exchange Online Centre or Office 365 Groups Portal.
![](http://www.thatlazyadmin.com/wp-content/uploads/2019/07/word-image-1.png)
Lastly let’s look at how one can create and Office 365 Dynamic Group using Exchange Online PowerShell.
- Establish a connection to Exchange Online PowerShell.
1 |
Connect-EXoPSSession |
![A close up of a logo
Description automatically generated](http://www.thatlazyadmin.com/wp-content/uploads/2019/07/a-close-up-of-a-logo-description-automatically-ge.jpeg)
- Next run the following to create the Dynamic group.
New-DynamicDistributionGroup -Name “My Dynamic DL 01” -IncludedRecipients MailboxUsers
![A close up of a logo
Description automatically generated](http://www.thatlazyadmin.com/wp-content/uploads/2019/07/a-close-up-of-a-logo-description-automatically-ge-1.jpeg)
- To verify that the new group has been created, run the following.
1 |
Get-DynamicDistributionGroup |
![A picture containing screenshot
Description automatically generated](http://www.thatlazyadmin.com/wp-content/uploads/2019/07/a-picture-containing-screenshot-description-autom-1.jpeg)
The above shows all Dynamic groups in Exchange Online.
![](http://www.thatlazyadmin.com/wp-content/uploads/2018/06/word-image-14.png)
Be First to Comment